The Biography Article feature allows you to generate detailed, AI-powered biographies for individuals, historical figures, or notable personalities. This tool helps you create well-structured, informative articles quickly, making it ideal for blogs, educational content, or profile pages.
To write biography article, click on the Write Biography Article button from the sidebar.

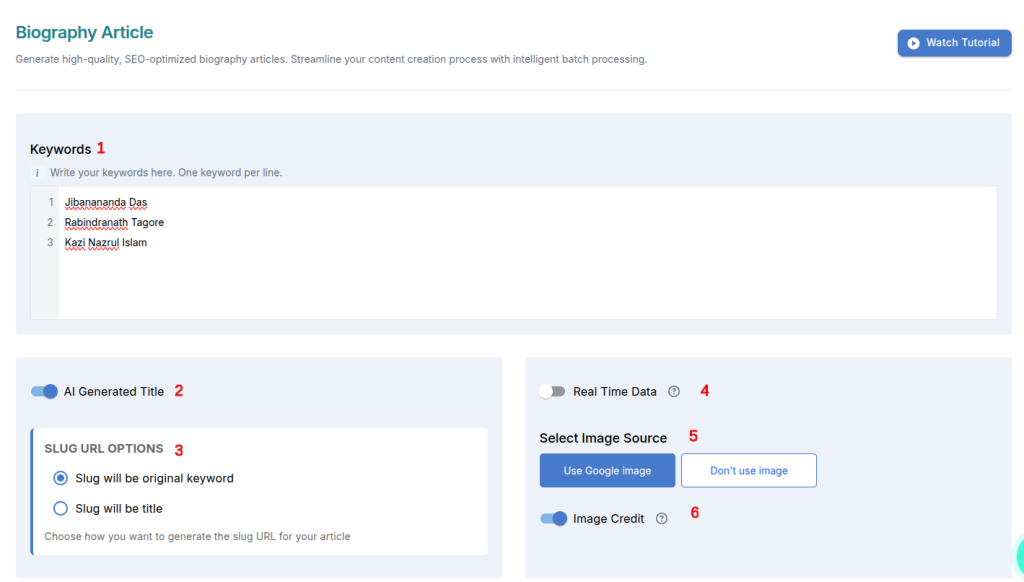
By clicking “Write Biography Article”, the following page will open. Fill in the information to generate the desired biography article:
- Keyword: Enter the name(s) of the person you want the biography to be about.
- AI Generated Title: Enable this toggle if you want the title to be automatically generated by AI.
- Slug URL Options: Choose how the URL slug should be created for the article.
- Real-Time Data: Enable this option if you want the article to include the most up-to-date information.
- Select Image Source: Choose whether to use images from Google or to skip images entirely.
- Image Credit: Add proper image credit if needed; omitting credit may result in better quality images.
Publishing Destination
Next, choose where you want your generated review article to be published. Affpilot supports multiple publishing destinations, including:
- WordPress
- Blogger
- Shopify
- Medium
- Your own website (via Webhook)
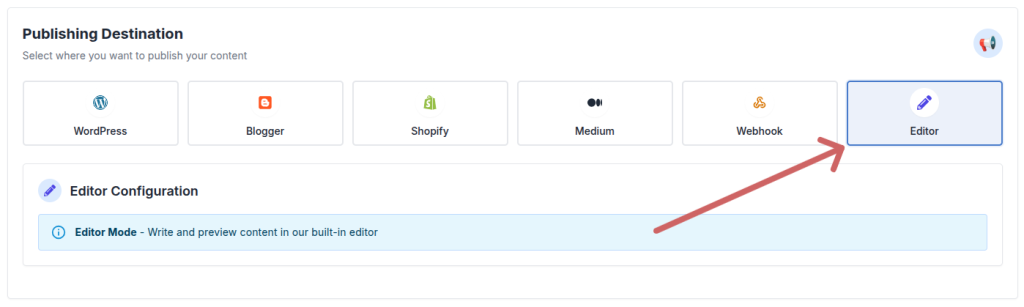
If you don’t want to publish immediately, you can select Editor Mode. This allows you to save the article inside Affpilot and publish it later after making any edits or adjustments.
Now lets see how to publish in wordpress, blogger, shopify, medium, webhook.
WordPress
If you haven’t connected your WordPress site yet, please see WordPress Tutorial to learn how to add WordPress to Affpilot.
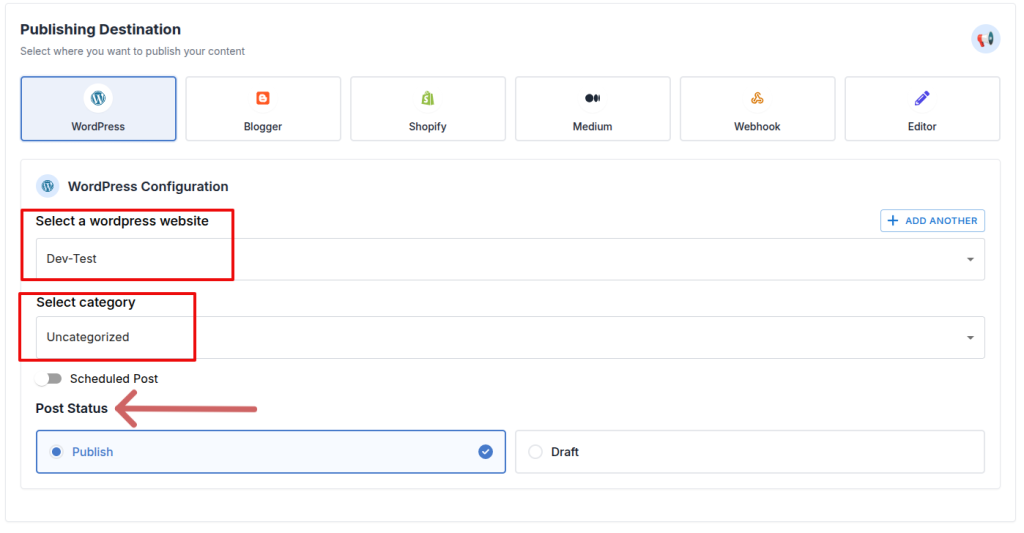
Once your WordPress site is connected:
- Set the Post Status – either publish instantly or save it as a draft for later review.
- Select your WordPress website from the list.
- Choose the Category where the article should be published.
Blogger
If you haven’t connected your Blogger site yet, please see Blogger Tutorial to learn how to add Blogger to Affpilot.
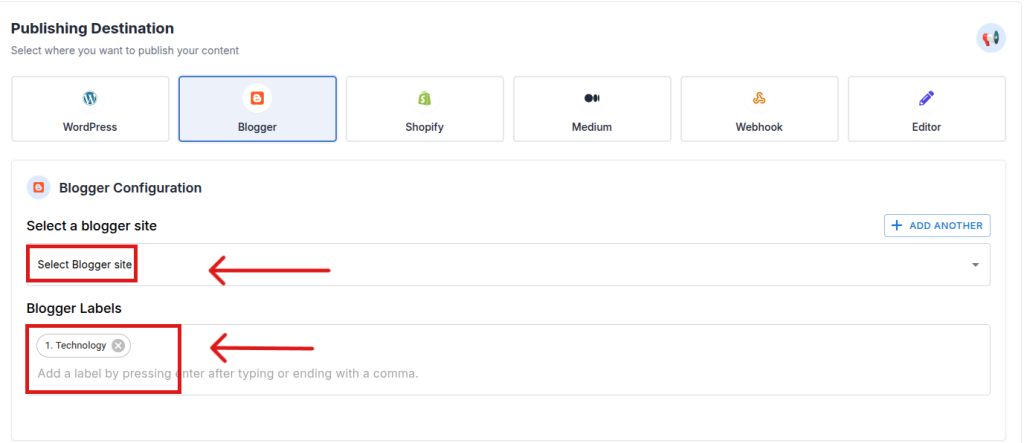
Once your Blogger site is connected:
- Select your Blogger website from the list.
- Select Lebel for your post, you can choose multiple too.
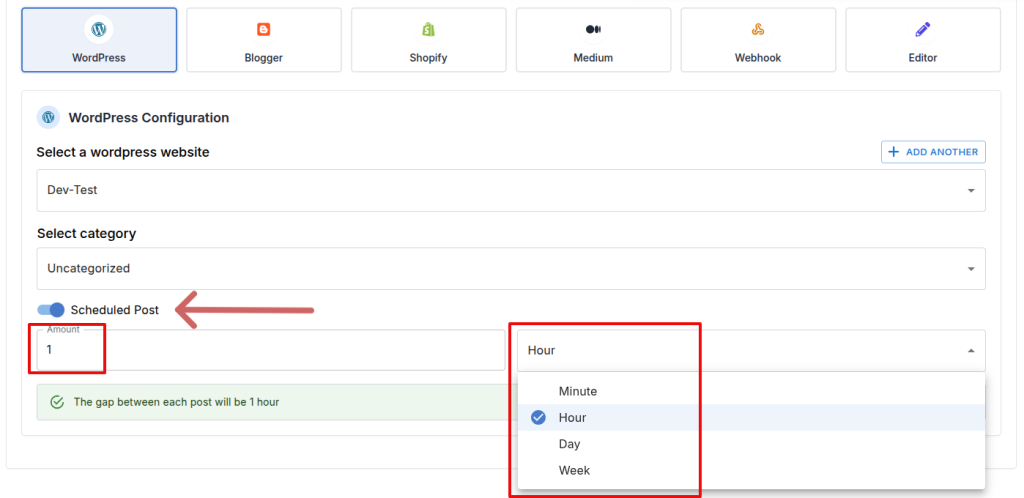
You can also schedule when the article should be published on your WordPress site. To do this, enable the “Schedule Post” toggle button, then set the desired delay by specifying the number of minutes, hours, days, or weeks. Affpilot will automatically publish the article at the scheduled time.
Shopify
If you haven’t connected your Shopify site yet, please see Shopify Tutorial to learn how to add Shopify to Affpilot.
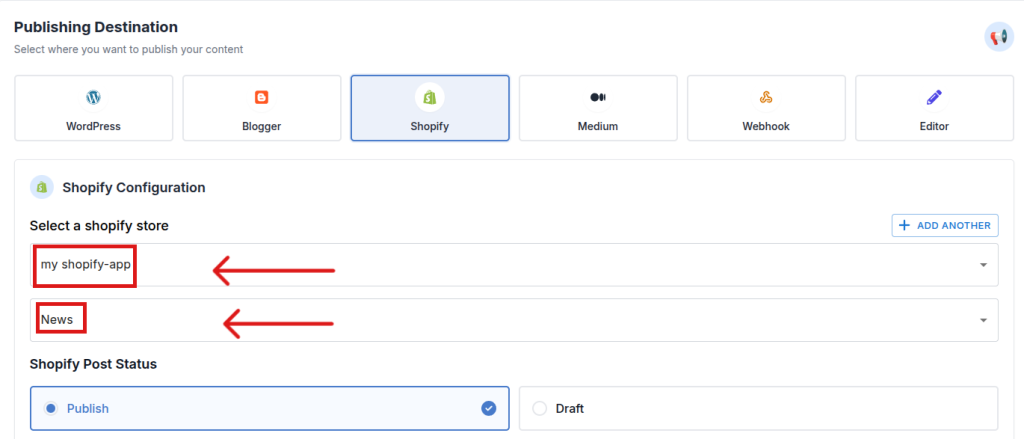
Once your WordPress site is connected:
- Select your Shopify website from the list.
- Choose the Category where the article should be published.
- Set the Post Status – either publish instantly or save it as a draft for later review.
- Once you are done then Press the blue button ‘Write Info Article’
Webhook
If you are not familiar with webhooks, please read Webhook Tutorial to learn what a webhook is and how to add one.
Once your webhook is added and you want to publish via webhook:
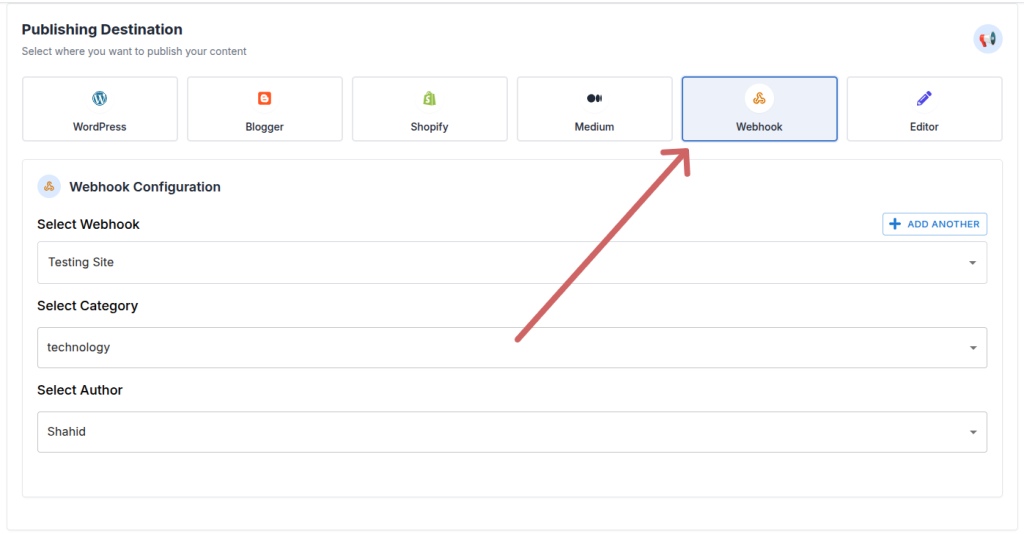
- Click Webhook as your publishing destination.
- Select your Webhook Site, Category, and Author.
Write Biography Article
After setting all the required data, you are ready to generate your AI-driven article. Click on the “Write Biography Article” button to start the process.

Task Details
After generating articles, you can view the details of your generated content. By clicking “Write Biography Article”, you will be automatically redirected to this page.

This page displays all relevant information about your generated articles:
Post Details
- Post Type: The type of article (e.g., AI Review Article, Info Article, Biography Article)
- Submitted: The date and time when the task was submitted
- Progress: Shows how many articles have been generated out of your provided keywords
Task Details
- ID: A unique number assigned to your task among all users and tasks
- Keyword: The keyword(s) you provided for this article
- Title: The title of the generated article
- Credit Used: The number of credits consumed for this article
- Remarks: Any errors or important notes will be displayed here
- Status: Indicates whether the task is in queue, running, or completed. Completed articles can be viewed in the Editor.
Editor Mode
You can view and edit the generated article by clicking the “Open In Editor” button. This section includes the information about your content. You can update the article and click “save” from the top bar for later publishing.

Now you have learned all about how to generate AI-powered biography articles, set up your API, configure filters, and publish your content efficiently using Affpilot.