Introduction
Our Manual Review Article service streamlines content creation by generating AI-powered product review articles. It automatically pulls product information from Amazon by keyword and ASIN (Amazon Standard Identification Number) and prepares ready-to-publish articles, saving you time and effort with automated publishing. Here You are able to select the product before writting article.

After clicking Manual Review Article you will get this page. where you can fetch amazon product by keyword and ASIN (how you want).

Lets see the Advanced Filters:
With advanced filters, you can fine-tune the type of products that will be included in your Amazon Review Articles. The available options are:
- Sort By – Control product order using options like Relevance, Price (High to Low / Low to High), Featured, Average Customer Reviews, or Newest Arrivals.
- Price Range – Define a minimum and maximum product price.
- Availability – Choose whether to include only available products or also include out-of-stock items.
- Minimum Rating – Set a minimum star rating for products (e.g., 4★ and above).
- Minimum Savings – Filter products with discounts or savings above a certain percentage.
- Delivery Options – Select delivery preferences such as Amazon Global, Free Shipping, Fulfilled by Amazon, or Prime.
- Condition – Choose product condition: Any, New, Collectible, Refurbished, or Used.

Fetch Amazon Product
Fetch amazon product by keyword by clicking on Search Products with have product name in input field. Then you will see a list of amazon product in left side. and you can select one/multiple product by Add button, or drag and drop from left to right.
Fetch amazon product by ASIN number. Selecting product same as Search by Keywords.

After selecting your product, click Next button at the bottom of this page.

After that one pop-up window will be appear:

If you want to generate an Amazon Review Article (Manual), click on that option. If you prefer to write a Single Product Review Article, select the corresponding option instead.
Amazon Review Article (Manual)
When you choose Amazon Review Article (Manual), you will see several configuration options:

If you search for a product using its ASIN number, the Focused Keyword field will be empty. In this case, enter a keyword manually.
- URL Slug: You also have the option to set a custom URL slug for the article.
Example:/buy-macbook-with-cheap-price - AI Generated Title: Enable the toggle button if you want the title to be generated automatically by AI. When enabled, the “Input Your Title” field will disappear.
Single Product Review Article
If you select Single Product Review Article, you will see input box auto filled up with your selected products ASIN number. For each product, Affpilot will generate individual article.

Amazon API
You have two options for Amazon API in Affpilot. You can select your own Amazon API if you have one.
If you’re not sure how to add your Amazon API, please read this page for step-by-step instructions.
Once you have added your own Amazon API, you can select it from the dropdown menu to use it for generating review articles.

If you don’t have your own Amazon API, you can still use Amazon data in Affpilot. To do this, enable the toggle button, select the Amazon API Country, and enter your Amazon Store ID (Tracking ID).

Publishing Destination
For both (Amazon Review Article (Manual) and Single Product Review Article), you will see Publishing Destination option to publish you articles to selected destination. Lets see how to use those:
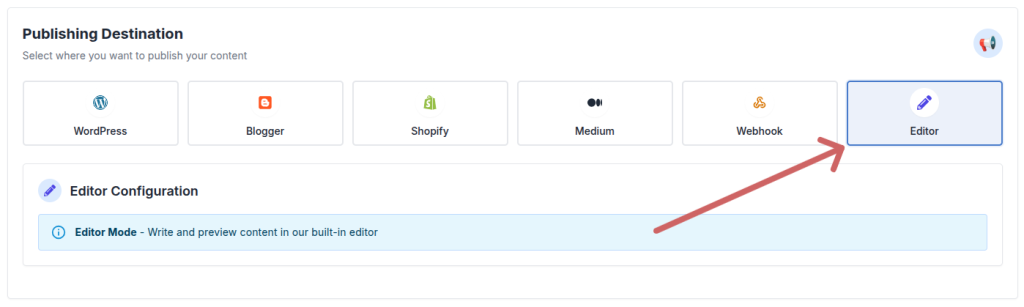
Choose where you want your generated review article to be published. Affpilot supports multiple publishing destinations, including:
- WordPress
- Blogger
- Shopify
- Medium
- Your own website (via Webhook)
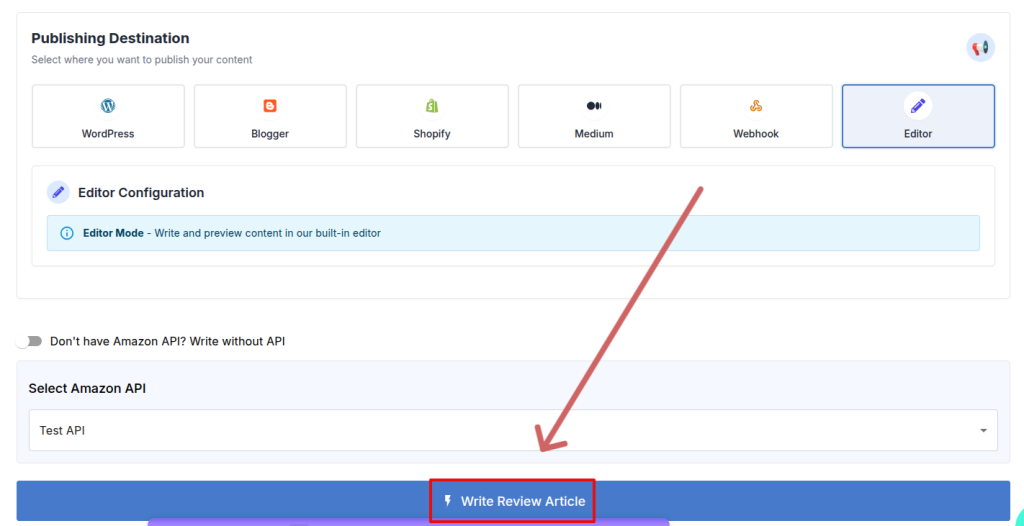
If you don’t want to publish immediately, you can select Editor Mode. This allows you to save the article inside Affpilot and publish it later after making any edits or adjustments.
Now lets see how to publish in wordpress, blogger, shopify, medium, webhook.
WordPress
If you haven’t connected your WordPress site yet, please see WordPress Tutorial to learn how to add WordPress to Affpilot.
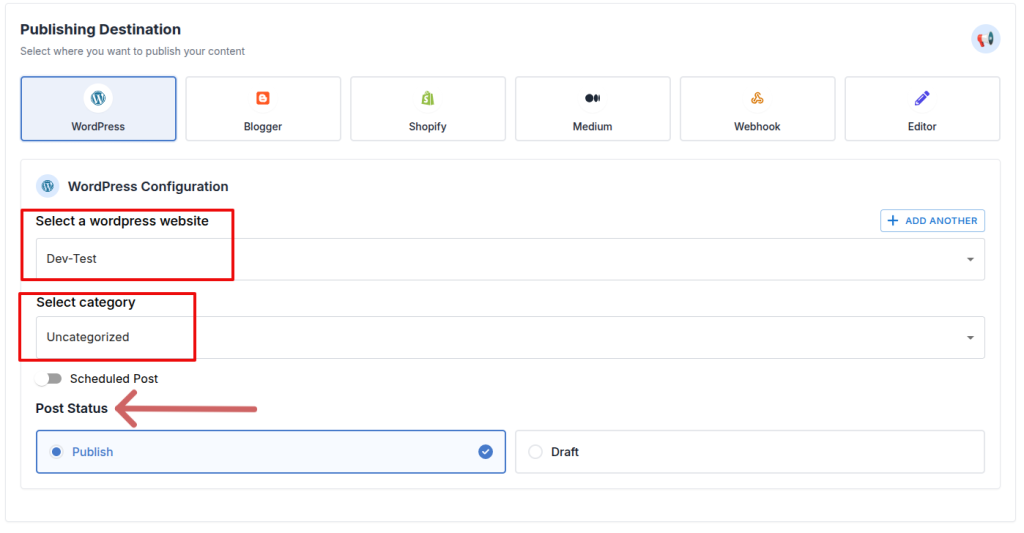
Once your WordPress site is connected:
- Set the Post Status – either publish instantly or save it as a draft for later review.
- Select your WordPress website from the list.
- Choose the Category where the article should be published.
Blogger
If you haven’t connected your Blogger site yet, please see Blogger Tutorial to learn how to add Blogger to Affpilot.
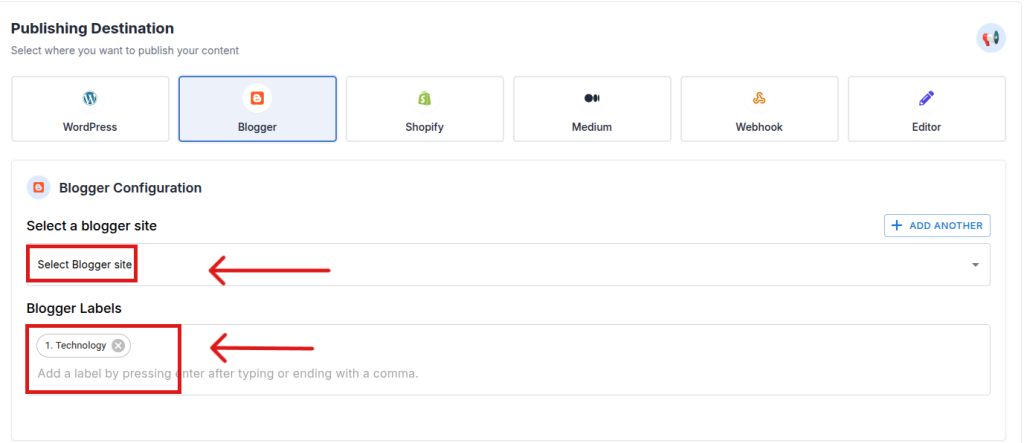
Once your Blogger site is connected:
- Select your Blogger website from the list.
- Select Lebel for your post, you can choose multiple too.
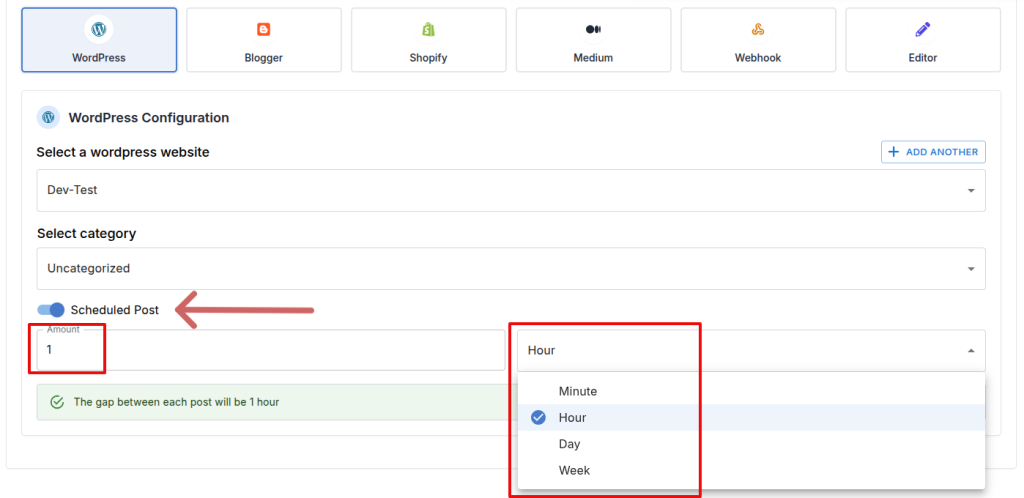
You can also schedule when the article should be published on your WordPress site. To do this, enable the “Schedule Post” toggle button, then set the desired delay by specifying the number of minutes, hours, days, or weeks. Affpilot will automatically publish the article at the scheduled time.
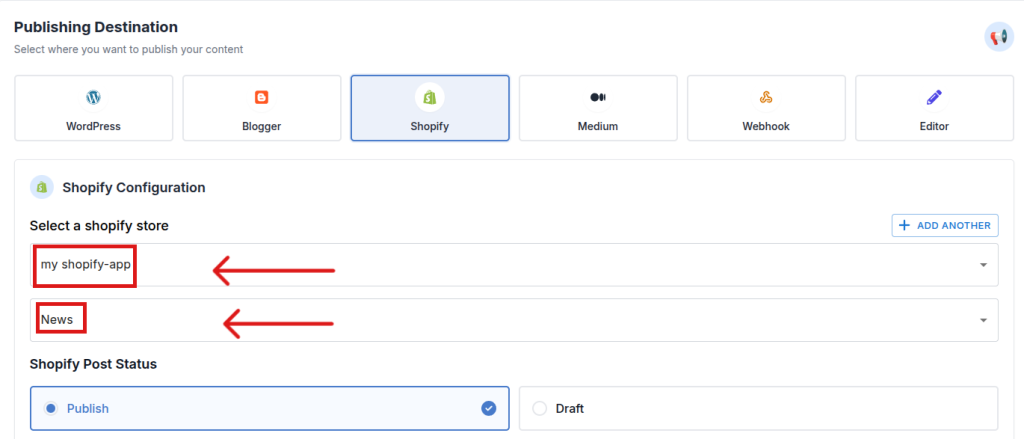
Shopify
If you haven’t connected your Shopify site yet, please see Shopify Tutorial to learn how to add Shopify to Affpilot.
Once your WordPress site is connected:
- Select your Shopify website from the list.
- Choose the Category where the article should be published.
- Set the Post Status – either publish instantly or save it as a draft for later review.
- Once you are done then Press the blue button ‘Write Info Article’
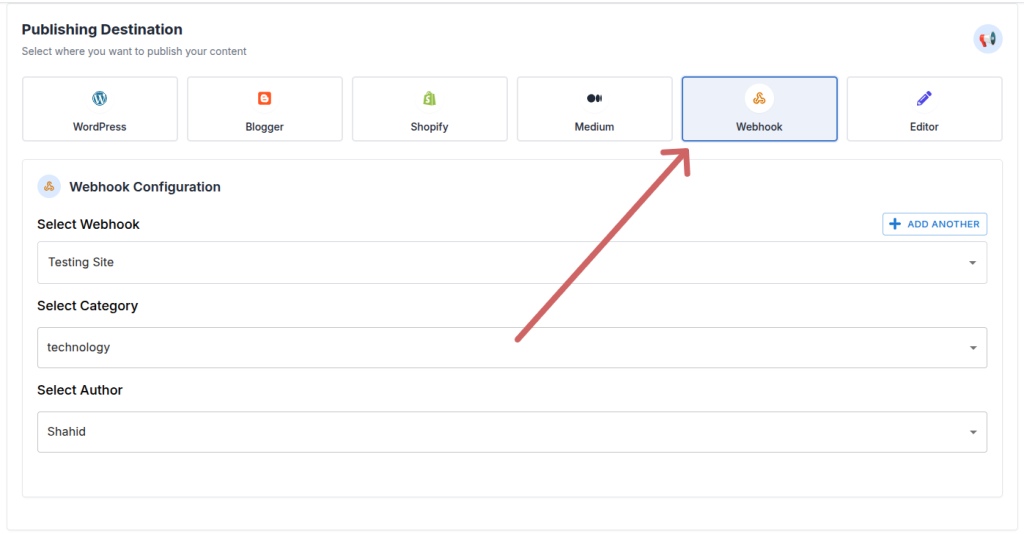
Webhook
If you are not familiar with webhooks, please read Webhook Tutorial to learn what a webhook is and how to add one.
Once your webhook is added and you want to publish via webhook:
- Click Webhook as your publishing destination.
- Select your Webhook Site, Category, and Author.
Amazon API
You have two options for Amazon API in Affpilot. You can select your own Amazon API if you have one.
If you’re not sure how to add your Amazon API, please read Amazon Integration for step-by-step instructions.
Once you have added your own Amazon API, you can select it from the dropdown menu to use it for generating review articles.
If you don’t have your own Amazon API, you can still use Amazon data in Affpilot. To do this, enable the toggle button, select the Amazon API Country, and enter your Amazon Store ID (Tracking ID).
Write Review Article
After setting all the required data, you are ready to generate your AI-driven article. Click on the “Write Review Article” button to start the process.
Task Details
After generating articles, you can view the details of your generated content. By clicking “Write Review Article”, you will be automatically redirected to this page.

This page displays all relevant information about your generated articles:
Post Details
- Post Type: The type of article (e.g., AI Review Article, Info Article, Biography Article)
- Submitted: The date and time when the task was submitted
- Progress: Shows how many articles have been generated out of your provided keywords
Task Details
- ID: A unique number assigned to your task among all users and tasks
- Keyword: The keyword(s) you provided for this article
- Title: The title of the generated article
- Credit Used: The number of credits consumed for this article
- Remarks: Any errors or important notes will be displayed here
- Status: Indicates whether the task is in queue, running, or completed. Completed articles can be viewed in the Editor.
Editor Mode
You can view and edit the generated article by clicking the “Open In Editor” button. You can copy the meta description or edit the content and save the article in from the top bar save button.

Now you have learned all about how to generate AI-powered manual review articles, set up your API, configure filters, and publish your content efficiently using Affpilot.