Step 1: Choose the Starting Node
Begin by selecting “On Webhook Call” as the starting node in your n8n workflow.

Step 2: Configure the Webhook Node
Keep the default configuration for now and copy the Production URL generated by n8n.

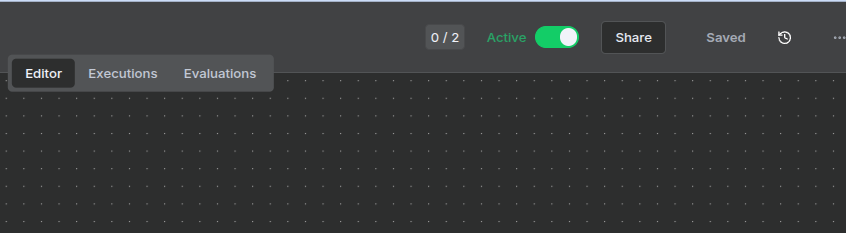
Step 3: Activate the Workflow
After configuration, activate your workflow in n8n to make the webhook endpoint live.
Step 4: Add the Webhook in AffPilot
Go to your AffPilot account and fill in the required webhook information.

Note:
If you have self-hosted n8n on a platform such as Render.com, your production URL might look like this:
You must remove the port number (:5678) and the colon (:).
The corrected URL should look like this:
Step 5: Verify the Webhook
Once the webhook is created in AffPilot, you’ll be prompted to verify it.
- You will receive a Secret Key during the verification step.
- Copy this key and go back to your n8n webhook configuration.
- Set the following options:
- HTTP Method: POST
- Authentication: Header Auth
- Click “Create New Credential” →
- Set the Name to APIKey
- Paste the Secret Key (received from AffPilot) into the Value field.
- Save both the Credential and the Workflow.
Step 6: Verify the Webhook
After saving, return to AffPilot and click “Verify Webhook”.
If everything is configured correctly, the webhook will be verified successfully.

Step 7: Start Using Your Workflow
Once verified, your n8n workflow is ready to process data from AffPilot webhooks.
You can now perform any desired automation or data processing within your workflow.
For More Information
Refer to the official documentation for additional details:
https://docs.affpilot.com/account-integration/add-webhook/