INTRODUCTION
Generate SEO-optimized articles in bulk with AffPilot. Save time, scale faster, and keep your content strategy on point—all with intelligent batch processing. You can write from 1 to 1000 articles in just seconds.
HOW TO GENERATE
Please go to this link and find “Bulk Article Generation” in sidebar. Press it

Alternatively you can find it from dashboard too.

Now you will find a page where you can provide your input keyword. Let’s go one by one –
Keyword:
Enter the keywords you want articles for. Add multiple keywords, each on a new line, and AffPilot will generate one article per keyword. This means you can create hundreds—or even thousands—of articles in a single batch.
Example:
digital marketing tips
best travel destinations
healthy recipes for weight loss
AffPilot will generate 3 separate SEO-optimized articles, one for each keyword.

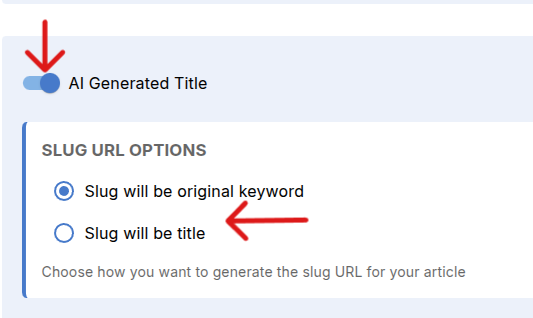
Select if the title of your content be AI generated or not, toggle the switch as par your requirement. Also you can get your slug like as title or keyword as your wish.
Check if you want to get real time data in your content. If so then toggle this on. To remember it will cost you a bit more tokens but your content will be filled with latest info.

Choose your content language

Choose your content length

Here are some more things to consider. You can choose your desired no of subheadings you want in your content. Similarly for FAQs, select brand voice. Also you can or can not use Google images, youtube links as per your requirement.

Publishing Destination
Next, choose where you want your generated review article to be published. Affpilot supports multiple publishing destinations, including:
- WordPress
- Blogger
- Shopify
- Medium
- Your own website (via Webhook)
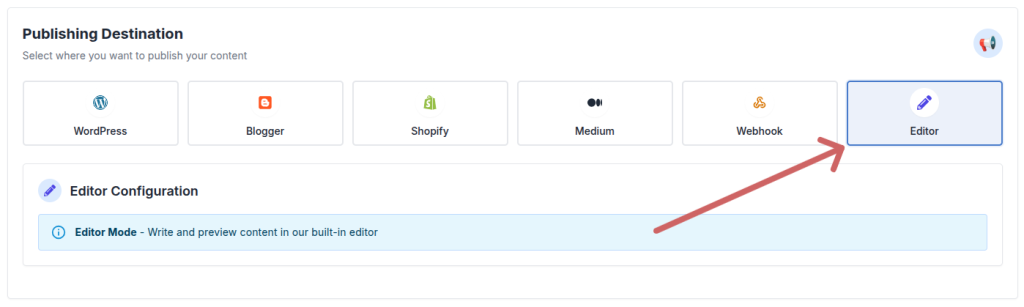
If you don’t want to publish immediately, you can select “Editor Mode“. This allows you to save the article inside Affpilot and publish it later after making any edits or adjustments.
Now lets see how to publish in wordpress, blogger, shopify, medium, webhook.
WordPress
If you haven’t connected your WordPress site yet, please see WordPress Tutorial to learn how to add WordPress to Affpilot.
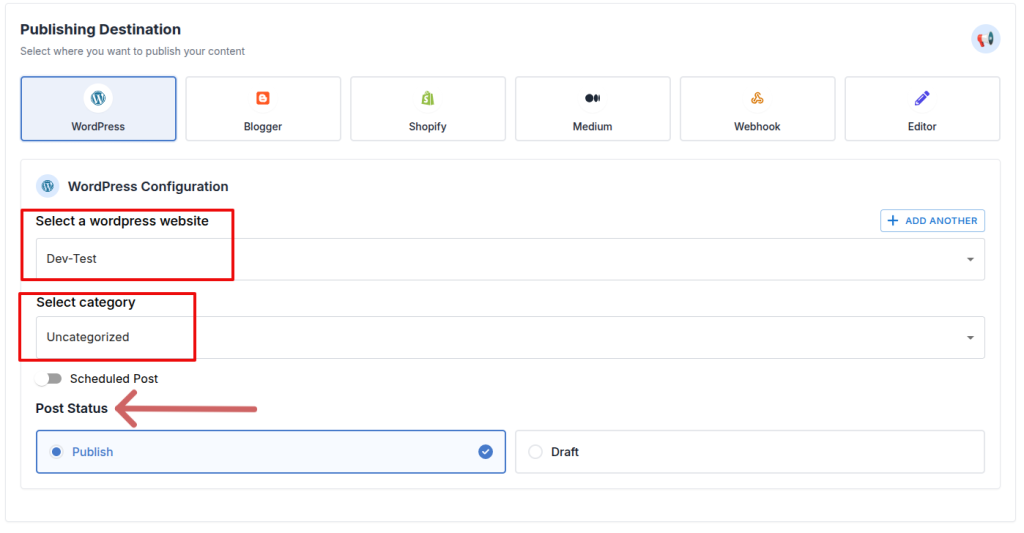
Once your WordPress site is connected:
- Set the Post Status – either publish instantly or save it as a draft for later review.
- Select your WordPress website from the list.
- Choose the Category where the article should be published.
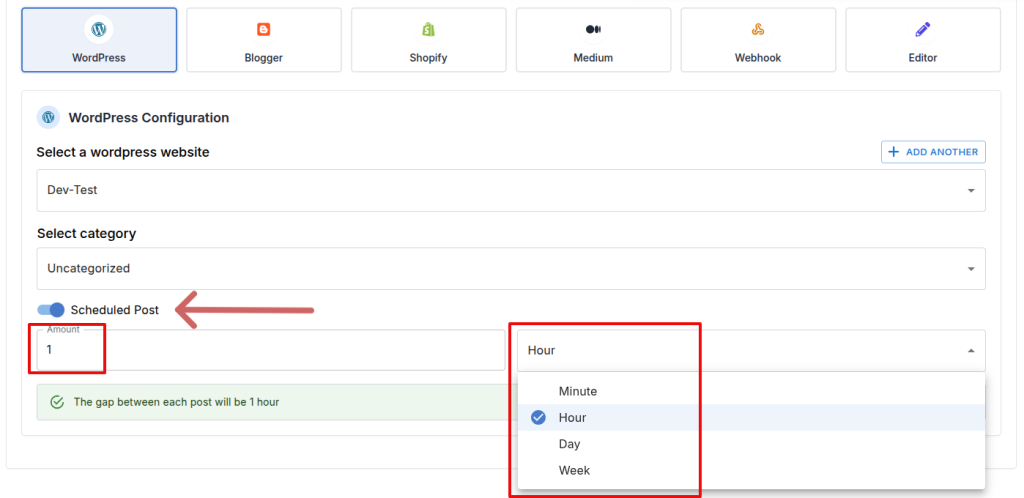
You can also schedule when the article should be published on your WordPress site. To do this, enable the “Schedule Post” toggle button, then set the desired delay by specifying the number of minutes, hours, days, or weeks. Affpilot will automatically publish the article at the scheduled time.
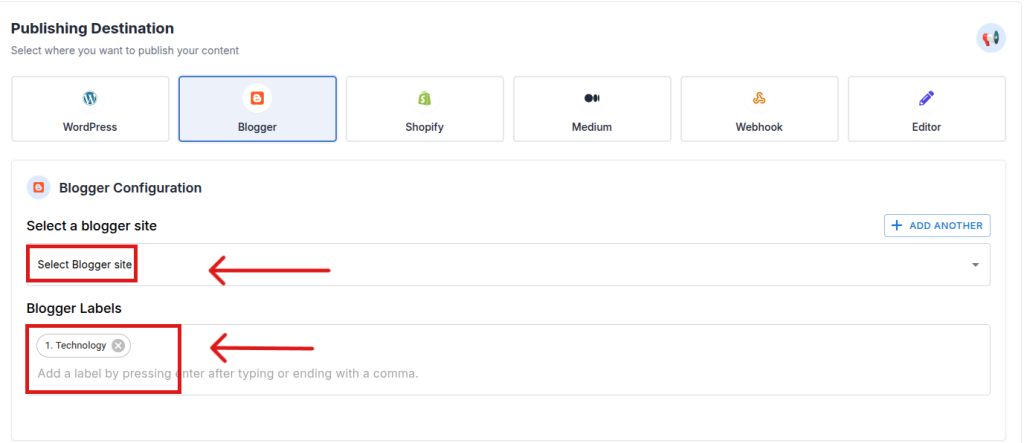
Blogger
If you haven’t connected your Blogger site yet, please see Blogger Tutorial to learn how to add Blogger to Affpilot.
Once your Blogger site is connected:
- Select your Blogger website from the list.
- Select Lebel for your post, you can choose multiple too.
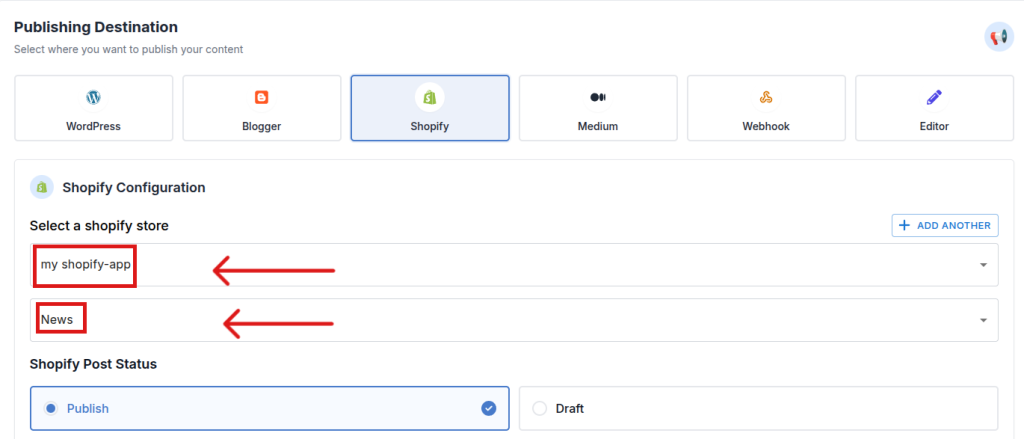
Shopify
If you haven’t connected your Shopify site yet, please see Shopify Tutorial to learn how to add Shopify to Affpilot.
Once your WordPress site is connected:
- Select your Shopify website from the list.
- Choose the Category where the article should be published.
- Set the Post Status – either publish instantly or save it as a draft for later review.
- Once you are done then Press the blue button ‘Write Info Article’
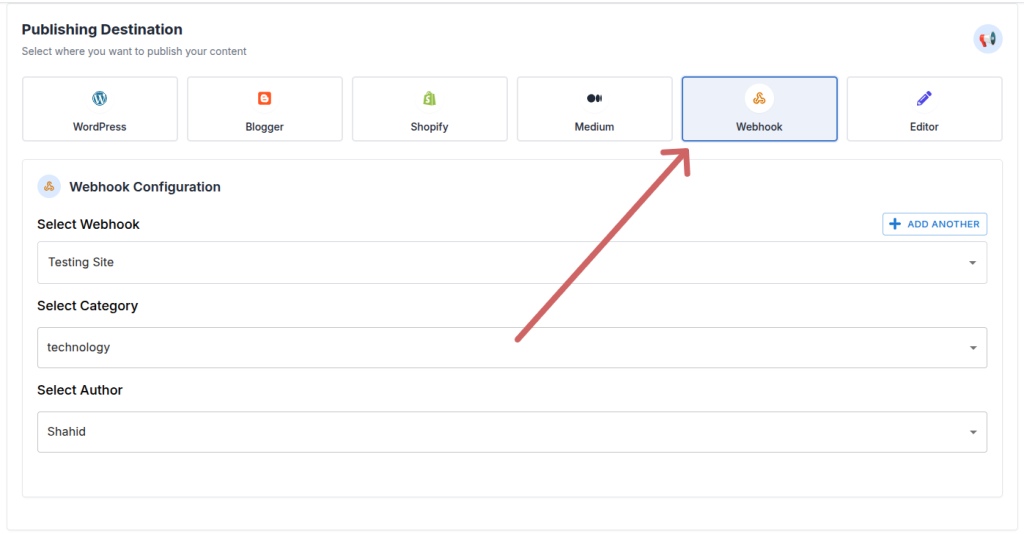
Webhook
If you are not familiar with webhooks, please read Webhook Tutorial to learn what a webhook is and how to add one.
Once your webhook is added and you want to publish via webhook:
- Click Webhook as your publishing destination.
- Select your Webhook Site, Category, and Author.
After you are done with everything required to create and post a content then you can press Write info article here and you get beautiful contents .

Task Details
After generating articles, you can view the details of your generated content. By clicking “Write Review Article”, you will be automatically redirected to this page.

This page displays all relevant information about your generated articles:
Post Details
- Post Type: The type of article (e.g., AI Review Article, Info Article, Biography Article)
- Submitted: The date and time when the task was submitted
- Progress: Shows how many articles have been generated out of your provided keywords
Task Details
- ID: A unique number assigned to your task among all users and tasks
- Keyword: The keyword(s) you provided for this article
- Title: The title of the generated article
- Credit Used: The number of credits consumed for this article
- Remarks: Any errors or important notes will be displayed here
- Status: Indicates whether the task is in queue, running, or completed. Completed articles can be viewed in the Editor.
Editor Mode
You can view and edit the generated article by clicking the “Open In Editor” button.

Now you have learned all about how to generate AI-powered Bulk Article Generation, set up your API, configure filters, and publish your content efficiently using Affpilot.